How to Make Melt and Pour Soap: A Beginner's Guide to Your First Batch
Learn how to make melt and pour soap in 6 steps — no lye handling, no curing wait. Get your first batch done in under an hour with this beginner guide.
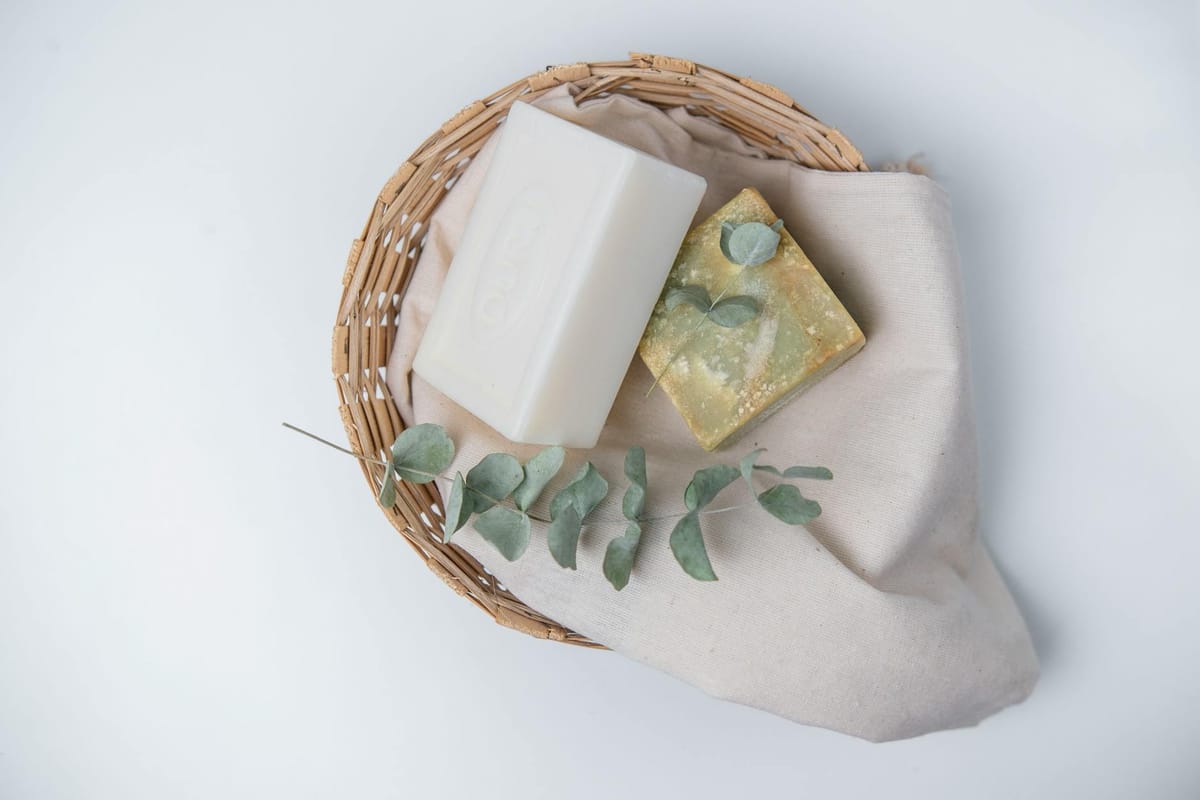
Learning how to make melt and pour soap is the fastest path from zero to a finished, usable bar of soap — typically under an hour from start to finish. You melt a pre-made melt and pour soap base (already saponified, so no lye handling required), stir in your fragrance and colorants, pour into a mold, and you're done. Beginners can realistically produce six polished bars on their first attempt.
That simplicity is the whole point. Cold process soap making involves handling caustic lye, precise temperature matching, and a 4–6 week cure time before you can even test your bars. Melt and pour skips all of that. The chemistry is already done for you. Your job is customization — scent, color, shape, additives — and that's where the real creativity lives in glycerin soap making.
Contents
- What Is Melt and Pour Soap and Why Beginners Love It
- Choosing the Right Melt and Pour Soap Base
- Tools and Supplies You Need Before You Start
- How to Make Melt and Pour Soap Step by Step
- Adding Color, Fragrance, and Extras to Your Soap
- Melt and Pour vs Cold Process vs Hot Process Soap
- Watch This First
- What Real People Are Saying
- Frequently Asked Questions
- Your Next Steps
What Is Melt and Pour Soap and Why Beginners Love It
Melt and pour is a soap making method where a pre-saponified soap base is melted down, customized with additives, and poured into molds to harden. According to Bramble Berry's beginner guide, the base has already gone through saponification — the chemical reaction between fats and lye that creates soap — so the end user never has to touch lye at all. That single fact removes the biggest barrier for most beginners.
The resulting bars are real soap. They lather, cleanse, and last just like any handmade bar. The primary ingredient in most melt and pour bases is glycerin, which is a natural humectant that draws moisture to the skin. That's why these bars are often described as gentler and more hydrating than commercial detergent bars, which have the glycerin stripped out during manufacturing.
The glycerin soap making process is also beginner-friendly on the timeline. Cold process bars need four to six weeks to cure and harden. Melt and pour bars are ready to use within 24 hours of pouring, sometimes sooner. For someone who wants to make gift sets, test a product idea, or simply enjoy a DIY project without waiting over a month for results, that speed matters enormously.
There's also a remarkably low barrier to entry from an equipment standpoint. You don't need special ventilation, safety goggles for caustic materials, or a dedicated soap making area. A microwave, a silicone mold, a digital scale, and a soap base are genuinely all you need for your first batch. The total startup cost for a beginner kit typically runs between $30 and $60, depending on how much base you buy and what molds you choose.
One honest caveat: you have less control over the base formula than you do with cold process. When you buy a melt and pour soap base, you're working with whatever oil profile and ingredient list that manufacturer chose. If you want a soap with specific percentages of shea butter, kokum butter, or exotic oils, you either find a specialty base that matches or eventually graduate to making your own base from scratch — which is a more advanced project entirely.
Choosing the Right Melt and Pour Soap Base
The base is your foundation, and picking the wrong one is the most common beginner mistake. There are several main categories, and each behaves differently during melting, pouring, and unmolding.
Clear glycerin base is the classic starting point. It melts cleanly, accepts colorants beautifully (since the transparency lets the color show through), and is easy to work with. It's also the most widely available. The downside is that clear bases can feel slightly drying on some skin types because the formula is typically leaner on added butters.
White glycerin base (also called opaque base) has titanium dioxide added, which gives it that crisp white appearance. It's ideal if you want pastel colors or a clean, commercial-looking bar. It's also more forgiving for beginners because small imperfections in pouring or temperature are less visible.
Shea butter base and cocoa butter base are richer formulations. They contain added butters in the ingredient list, giving the final bar a creamier lather and a more moisturizing feel. In r/soapmaking, experienced makers consistently recommend butter-based formulas for anyone who finds standard glycerin bars slightly drying — the base itself matters far more than adding extra oils post-melt.
Goat milk base contains real or powdered goat milk, which adds a creamy feel and is popular with people who have sensitive skin. It tends to be slightly softer and can take a little longer to harden.
Specialty bases — hemp seed oil, aloe vera, activated charcoal, oatmeal — are also available from most major soap supply retailers. These save you the trouble of adding these ingredients yourself and ensure even distribution throughout the bar. One practical note from Simple Life Mom's DIY soap base resource: if your melted base seems too thick after melting, you can add a small amount of oil — about one teaspoon per pound of soap — to loosen it before pouring.
Tools and Supplies You Need Before You Start
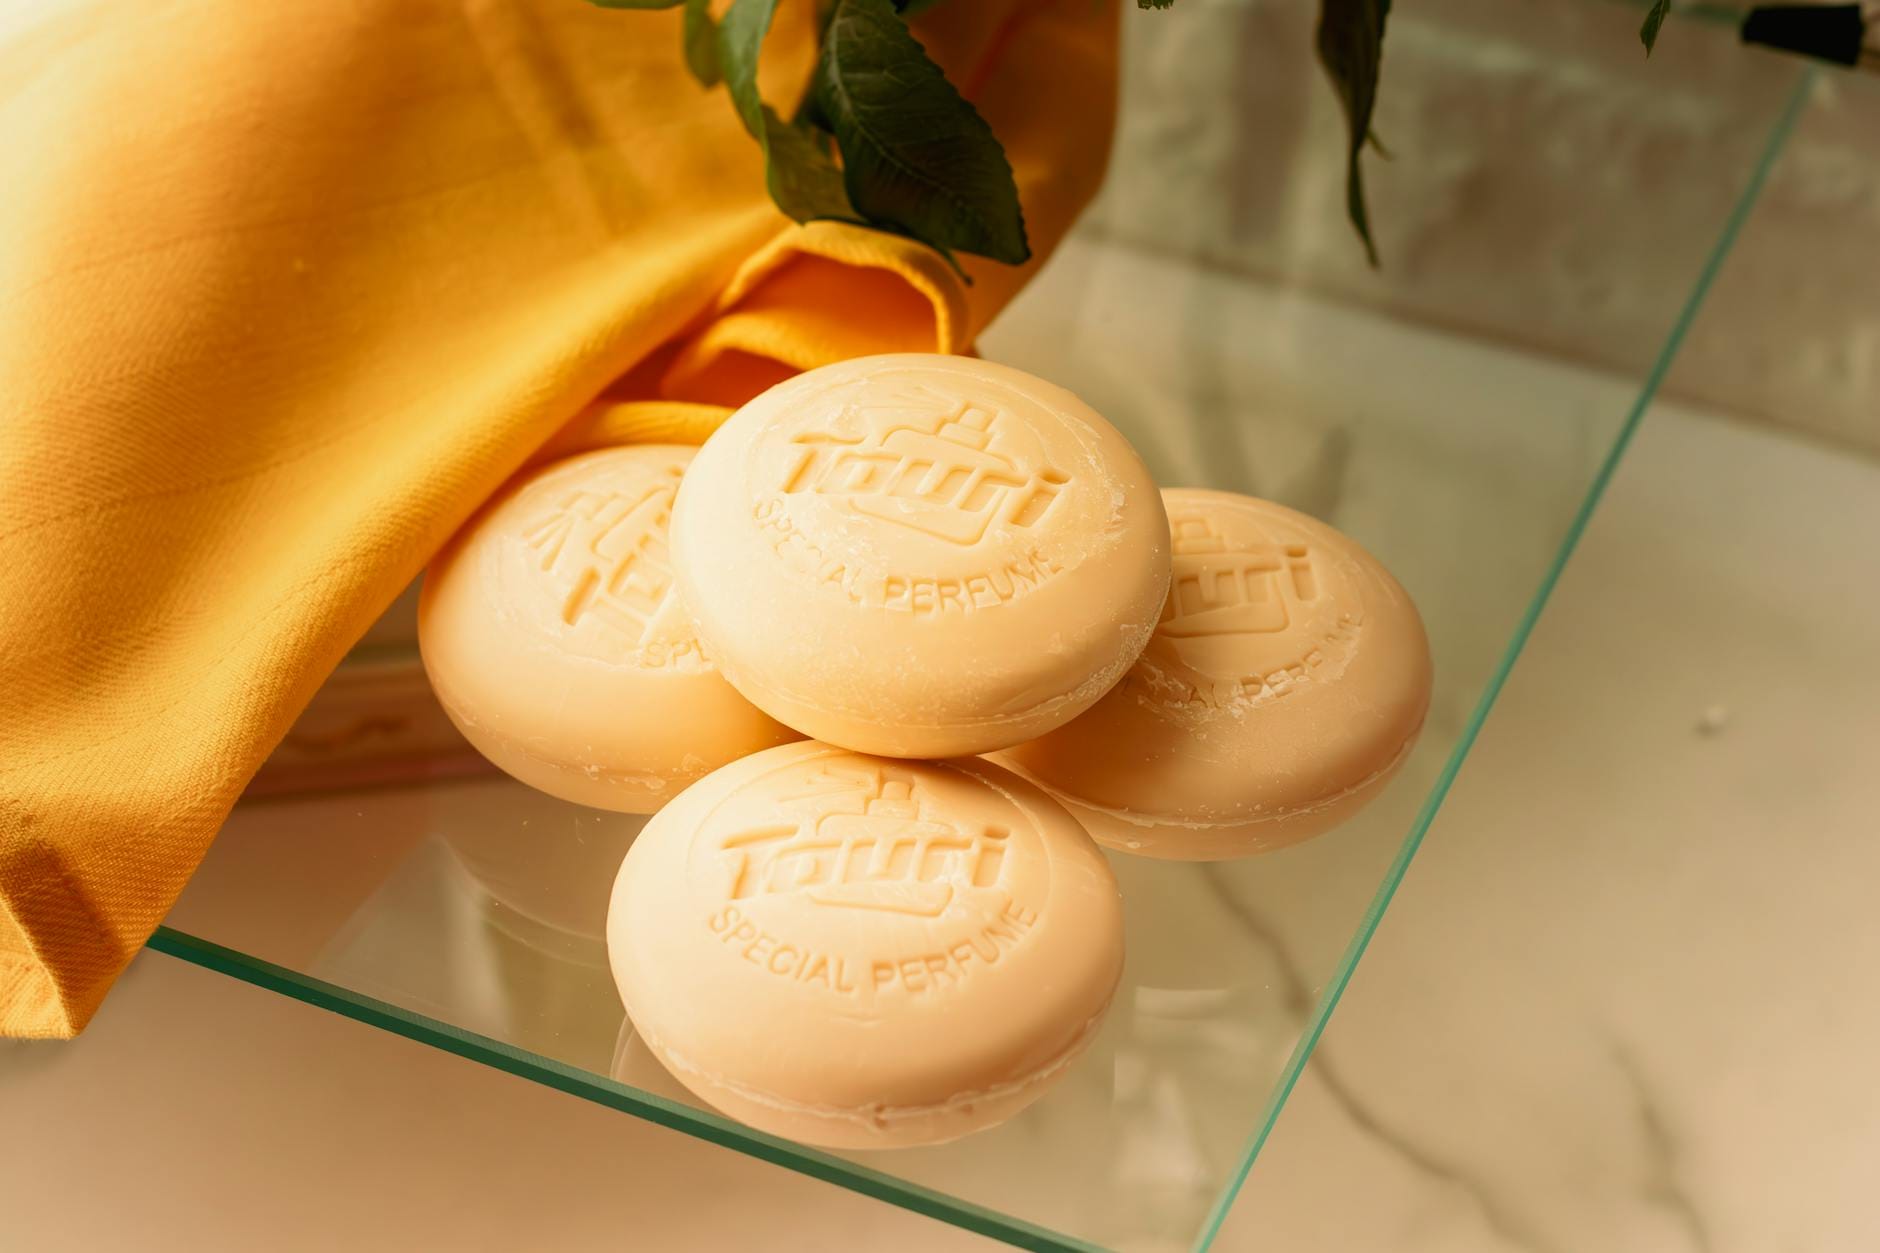
One of the underrated advantages of melt and pour soap making for beginners is that most of the equipment is either already in your kitchen or costs very little to acquire. That said, a few specific tools make the difference between a smooth first batch and a frustrating one.
A digital kitchen scale is non-negotiable. Soap making is measured by weight, not volume. Cups and tablespoons introduce too much variability — a tablespoon of dense shea butter base weighs differently than a tablespoon of lighter clear glycerin. Get a scale that reads in tenths of an ounce or grams. Basic options on Amazon run $10–$15 and are perfectly adequate.
A microwave-safe glass pitcher or measuring cup with a pouring spout is ideal for melting and transferring your base. The spout gives you control when pouring into individual mold cavities. Silicone pitchers work well too, since melted soap peels off silicone cleanly.
Silicone soap molds are the best choice for beginners. Unmolding is easy — you simply flex the mold and the bars pop out without tearing or sticking. A basic six-bar slab mold is the most common starter choice and holds roughly one pound of soap base. Individual cavity molds in geometric shapes, florals, or novelty designs are available at Amazon and craft stores like Michaels.
A rubbing alcohol spray bottle is one of the most important — and most overlooked — supplies. Ninety-one percent isopropyl alcohol sprayed onto poured soap immediately eliminates surface bubbles, and sprayed between layers helps two pours bond together instead of separating cleanly when cut. Keep it nearby throughout your entire pour session.
Other supplies worth having on hand:
- Silicone spatula for stirring
- Sharp knife or soap cutter for cutting your base block into chunks
- Thermometer (optional but useful — ideal pouring temperature is around 120–130°F)
- Gloves and paper towels
- Parchment paper to protect your work surface
Pre-measure your fragrance oil and colorants before you start melting. Once the base is liquid, you have a limited window before it begins to thicken and set. Having everything measured and within arm's reach removes the scramble.
How to Make Melt and Pour Soap Step by Step
This basic DIY soap recipe produces six standard bars using one pound (16 oz) of melt and pour soap base. The process is the same whether you scale up or down.
Step 1: Prepare Your Workspace and Measure Your Base
Sanitize your mold, pitcher, spatula, and work surface with rubbing alcohol. Let everything dry. Lay down parchment paper on your countertop. Cut your soap base block into roughly one-inch cubes — smaller pieces melt faster and more evenly than large chunks. Place your pitcher on the scale, tare to zero, and weigh out your base. For a standard six-bar batch, that's 16 ounces. Have your fragrance and colorants already measured and set aside before you touch the microwave.
Step 2: Melt the Soap Base
Place your cubed base in the microwave-safe pitcher and heat in 30-second intervals, stirring gently between each burst. Do not attempt to melt in one long continuous cycle. Overheating is the most common beginner mistake — it scorches the base, causes a rubbery or grainy texture, and ruins the final bar. You'll know it's ready when the base is fully liquid with no remaining solid chunks. It should look like slightly thick water, not boiling or steaming aggressively. For most standard bases, two to three 30-second rounds is usually enough for a one-pound batch.
Step 3: Let the Temperature Drop Slightly
Give the melted base 60–90 seconds to cool slightly before adding your fragrance. This matters because some fragrance oils can accelerate the thickening process if added to base that's too hot, and high heat can cause certain fragrances to flash off before they're locked into the bar. A temperature around 120–130°F is ideal for adding your additives.
Step 4: Add Fragrance, Color, and Extras
Pour your pre-measured fragrance oil into the melted base and stir gently for 20–30 seconds. Avoid vigorous whisking — that introduces air bubbles. Add your colorant next, starting with less than you think you need and building up. Liquid soap dyes are the easiest to work with for beginners; micas and oxides work too but require more thorough mixing to avoid streaks. If you're adding botanicals, exfoliants, or clays, stir those in last.
Step 5: Pour Into the Mold
Pour slowly and steadily into each mold cavity. Hold the pitcher close to the mold opening to minimize splashing and air introduction. Immediately after pouring, spritz the surface generously with rubbing alcohol to pop any bubbles. For a two-layer bar, fill each cavity halfway, let the first layer firm up for 5–10 minutes (test by lightly touching — it should hold without rippling), spritz the surface with alcohol again, then pour your second color on top. The alcohol spray between layers is what makes them bond permanently rather than separating when you cut or use the bar.
Step 6: Unmold, Cut, and Store
Leave the soap undisturbed at room temperature for a minimum of four to six hours. For cleaner cuts and firmer bars, waiting a full 24 hours produces better results. To unmold from a silicone mold, flex the sides gently and apply light pressure on the bottom — the bars release cleanly. Wrap finished bars tightly in plastic wrap or shrink wrap immediately to prevent glycerin dew: the natural glycerin in the base attracts moisture from the air, which causes water droplets to form on the surface over time. Wrapped bars store well for up to a year.
Product claims are based on manufacturer-provided data and published studies where available. Always patch-test new products and consult a dermatologist if you have sensitive or reactive skin.
Adding Color, Fragrance, and Extras to Your Soap
This is where melt and pour soap making genuinely becomes a craft. The base does the heavy lifting; customization is what makes your bars distinctly yours.
Fragrance oils vs. Essential oils: Both work in melt and pour soap. Fragrance oils are synthetic (or blended) scents that are stable, predictable, and available in hundreds of varieties. Essential oils are natural plant extracts — lavender, peppermint, eucalyptus, and lemon are all popular choices. Essential oils behave unpredictably in some formulations and are more expensive per ounce, but they're the right choice if you want a fully natural bar.
On fragrance load: most soap makers use between 3–6% fragrance oil by weight. For a one-pound (16 oz) batch, that works out to roughly 0.48–0.96 oz of fragrance. The Handcraft Soap and Cosmetic Guild and industry consensus both suggest starting at 3% — about 0.5 oz per pound — and adjusting from there. Going above 6% risks fragrance separation (oil pooling on top or bleeding out of the bar) without meaningfully increasing scent throw.
Colorants: Liquid soap-safe dyes are the simplest option and disperse evenly. Micas produce shimmery, vibrant results and are popular in cosmetic soap because they're skin-safe. Avoid craft store food dyes — they can bleed during use and stain washcloths. Oxides (iron oxides, ultramarines) create earthy, bold tones and are excellent for natural-look bars. Natural colorants like turmeric, spirulina, and activated charcoal can be added, but be aware that plant-based colorants can fade over time.
Additives and extras: The melt and pour format is highly forgiving for adding extras. Dried botanicals (lavender buds, rose petals, calendula), fine coffee grounds for exfoliation, oat flour for a gentle scrub effect, and clay for skin-detoxifying bars all work well. The main rule: add botanicals on top of a poured, slightly-setting bar rather than mixing them into liquid soap, or they'll sink to the bottom of the mold.
A few things to avoid adding: fresh fruits, fresh herbs, dairy liquids (like fresh milk), or vitamin E oil in large quantities. Fresh organic ingredients introduce bacteria and can cause spoilage. Large amounts of oils can cause your finished bar to feel greasy or weep excess oil over time — the base already contains oils, so restraint is wise.
| Base Type | Best For | Transparency | Skin Feel | Beginner Friendly |
|---|---|---|---|---|
| Clear Glycerin | Vibrant colors, embeds | Clear | Light, clean | ✓ Yes |
| White Opaque | Pastel colors, gifts | Opaque | Mild | ✓ Yes |
| Shea Butter | Dry or sensitive skin | Opaque/creamy | Rich, moisturizing | ✓ Yes |
| Goat Milk | Sensitive skin, gifting | Opaque/creamy | Creamy, gentle | ✓ Yes |
| Activated Charcoal | Oily skin, detox bars | Opaque/dark | Deep-cleansing | ✓ Yes |
Melt and Pour vs Cold Process vs Hot Process Soap
Understanding where melt and pour fits in the broader landscape of soap making helps you decide how much of this craft you want to pursue. The three main methods differ significantly in difficulty, customization, and time investment.
Melt and pour requires no lye handling, no cure time, and produces bars within 24 hours. Customization is limited to what you add on top of the base. It's the right starting point for soap making beginners and for anyone who wants to make soap regularly without a dedicated workspace or advanced chemistry knowledge.
Cold process involves combining lye (sodium hydroxide) with oils and water to create soap from scratch. You have complete control over every ingredient in the formula. The tradeoff: lye requires careful safety handling (goggles, gloves, ventilation), the raw batter needs 4–6 weeks of cure time, and the learning curve is substantially steeper. Many experienced soap makers consider cold process the "real" soap making — but that's a craft preference, not a quality verdict.
Hot process uses the same from-scratch chemistry as cold process but cooks the soap in a crockpot or oven to accelerate saponification. Cure time is shorter (often 1–2 weeks), but the texture is rustically chunky rather than smooth, which limits intricate designs. Some makers on r/soapmaking use hot process to make their own melt and pour base from scratch — shredding the cooked soap, adding water, and processing it into a workable mass in a crockpot — but that's an advanced technique, not a beginner project.
| Method | Lye Handling | Cure Time | Customization | Skill Level |
|---|---|---|---|---|
| Melt and Pour | None | 24 hours | Moderate (additives only) | Beginner |
| Cold Process | Required | 4–6 weeks | Full (oils, butters, lye) | Intermediate–Advanced |
| Hot Process | Required | 1–2 weeks | Full (less design control) | Intermediate |
Watch This First
Watch: the Bramble Berry YouTube channel on how to make melt and pour soap at home →
According to the CandleScience YouTube channel, one of the most practical workflow tips is to pre-measure your fragrance oil before you start melting the base — not after. Once the base is fully liquid, you have a narrow window before it starts to thicken, and fumbling to measure fragrance in that moment leads to rushed pouring and uneven distribution. Having your 0.43 oz of fragrance already weighed and staged off to the side is the kind of prep habit that separates clean results from messy ones.
The CandleScience channel also demonstrates the two-layer technique specifically: pouring the first (uncolored) layer halfway up each cavity, waiting 5–10 minutes until the surface holds when touched, spraying with alcohol, then pouring the second (colored) layer on top. That alcohol spray step between layers is what makes the two colors bond permanently rather than delaminating when you unmold or cut. It's a small detail that makes an enormous visual difference in the finished bar.
The video also confirms a point worth repeating: Stephenson's white melt and pour base specifically hardens quickly, which is actually a feature rather than a limitation — fast hardening means you can layer multiple colors in a single session without waiting overnight between pours.
What Real People Are Saying
The r/soapmaking community has a few thousand active members with genuine hands-on experience, and their collective advice covers the pitfalls you won't find in most tutorials.
On the question of moisturization, users in r/soapmaking are consistent: the best way to get a more moisturizing bar isn't to add extra oils or butters to a standard clear base — it's to start with a butter-based base (shea, cocoa, or triple butter) in the first place. Adding excess free oils to melt and pour can cause weeping bars or a greasy feel. The base selection does more for skin feel than any post-melt additive.
On selling melt and pour soap, a common reality check surfaces frequently in r/soapmaking threads: if you're selling, you're essentially selling the base brand's formula with your customization on top. If a customer wants oatmeal, aloe, or a specific oil profile, you need to find a pre-made base that includes it rather than building the formula yourself. That's a real limitation for anyone building a brand around a specific "signature formula." For hobbyists and gift-givers, it's completely irrelevant.
The "hate" toward melt and pour that occasionally surfaces in soap making communities is mostly a craft purist perspective, as users in r/soapmaking point out. The counterargument is simple: finished bars are real soap, beginners learn the craft fundamentals without dangerous chemistry, and the creativity ceiling is genuinely high with enough practice. The community consensus is that melt and pour is a legitimate entry point — not a shortcut that should embarrass anyone.
Frequently Asked Questions
How much fragrance oil should I use for 1 lb of melt and pour soap?
The standard starting point is 3% fragrance load — about 0.5 oz (roughly half an ounce) per 16 oz (1 lb) of soap base. Most experienced makers stay in the 3–6% range. Going above 6% risks oil separation or fragrance bleeding out of the finished bar without a meaningful increase in scent intensity. Always verify your specific fragrance oil's recommended usage rate, since some are formulated stronger than others.
Why are water droplets forming on the surface of my finished soap?
That's called "glycerin dew" or "sweating," and it's completely normal with melt and pour. The high glycerin content in the base naturally attracts moisture from the air. It doesn't indicate a problem with the soap — it's just hygroscopic chemistry at work. The fix is simple: wrap your finished bars tightly in plastic wrap or shrink wrap immediately after unmolding. Unwrapped bars left in a humid bathroom or kitchen will collect condensation.
Can I add fresh herbs or fruit to melt and pour soap?
Skip fresh organic ingredients entirely. Fresh herbs, fresh flowers, and fresh fruit contain water and organic matter that will introduce bacteria and cause your soap to mold or go rancid quickly — sometimes within days. Use dried botanicals instead. Dried lavender buds, dried rose petals, dried chamomile, and powdered botanicals (matcha, spirulina, turmeric) are all safe and stable. They can be mixed into the base or pressed onto the top of a poured, slightly-setting bar for a decorative effect.
How long does melt and pour soap need to cure before using?
Melt and pour bars are technically usable as soon as they've fully hardened, which typically takes 4–6 hours. Most makers wait a full 24 hours for cleaner unmolding and firmer bars. Unlike cold process soap, there is no chemical curing process happening — the saponification is already complete in the base. The wait is purely about physical hardening, not chemistry. You can accelerate hardening by placing the mold in the refrigerator for 30–60 minutes after pouring, though avoid the freezer as rapid temperature changes can cause cracking.
What temperature should melt and pour soap be when I pour it into the mold?
The ideal pouring temperature is between 120–130°F. Too hot and you risk air bubbles, color streaking, and fragrance volatilization. Too cool and the base will have started to thicken, which makes even pouring difficult and can cause rippling or lumpy surfaces. If you don't have a thermometer, a practical test: the base should be fully liquid and pourable but not steaming aggressively. At the right temperature, it pours smoothly and hits the mold without splattering.
Can I remelt melt and pour soap if something goes wrong?
Yes — this is one of the forgiving qualities of the format. If your pour goes wrong, your bars crack during unmolding, or you want to change color or scent, you can cut up the bars and remelt them. The base handles remelting well, though excessive remelting cycles can slightly degrade the quality. Fragrance will weaken slightly with each reheat, so you may need to add a small amount more on the second pass. Color generally holds through remelting.
Is melt and pour soap considered "real" handmade soap for labeling purposes?
For personal use and gifting, labels are optional and there's no regulatory concern. For selling, the FDA requires that soap sold as cosmetic must accurately represent what's in it. Since you're using a pre-made base, your ingredient list must reflect the base manufacturer's full ingredient deck plus anything you added. You cannot label it "handmade from scratch" if you started with a commercial base — but you can accurately call it "handcrafted," "handmade," or describe the customization. If you're planning to sell, review the FDA's cosmetics labeling guidance for soap before going to market.
Your Next Steps
Making your first batch of melt and pour soap is genuinely achievable in an afternoon. The entire process — setup, melt, pour, and cleanup — takes under two hours, and your bars will be ready to use or gift within 24 hours.
Here's a clean three-step plan to get started:
- Step 1 — Source your base. Order a two-pound block of clear or white glycerin base from a reputable soap supply retailer. Bramble Berry is a well-established US supplier with beginner starter kits that include base, fragrance, colorant, and a mold. CandleScience also carries Stephenson's melt and pour bases with reliable beginner documentation. Two pounds gives you twelve to fourteen standard bars, which is enough to make mistakes and still walk away with good results.
- Step 2 — Start simple. For your very first batch, use a single color, a single fragrance, and no additives. Get the fundamentals right — proper melt temperature, clean pouring, alcohol spritz, 24-hour wait — before you try layering, embeds, or complex designs. The Nerdy Farm Wife has a thorough resource on base formulations if you eventually want to understand what's inside your base at a chemistry level.
- Step 3 — Wrap immediately. As soon as your bars are unmolded, wrap each one individually in plastic wrap or shrink wrap. Store in a cool, dry place away from direct sunlight. Glycerin naturally pulls moisture from the air — unwrapped bars will sweat, look less polished, and feel slightly tacky over time. Wrapped bars stay clean, dry, and gift-ready for months.
From there, the natural progression is experimenting with two-layer designs, botanical embeds, and specialty bases before eventually exploring cold process if you want full formula control. But most people who make a clean first batch of melt and pour soap realize they don't need to go further — the results are already excellent, the process is genuinely enjoyable, and the bars make gifts that people actually use and remember.
About the Author
Written by Lena Marsh
Lena Marsh is a licensed esthetician and skincare writer based in New York. With over 8 years of hands-on experience in clinical skincare, she translates complex dermatology research into practical routines for everyday skin types. She specializes in acne, barrier repair, and ingredient science.
Disclaimer: This article is for informational purposes only. Product claims are based on manufacturer data and published studies where available. Always patch-test new products and consult a dermatologist if you have sensitive or reactive skin.
Last updated: May 8, 2026 · glowi.today